Shelter is one of the ten essentials that every outdoor enthusiast should have. And a tarp is an easy multi use item for a day hiker, backpacker, trail runner, day paddler, or person who is camping overnight with their kayak. Tarps are small, light weight, and there is no limit to the number of ways of how to use a tarp; the only limit is a person’s imagination.
– Jeff
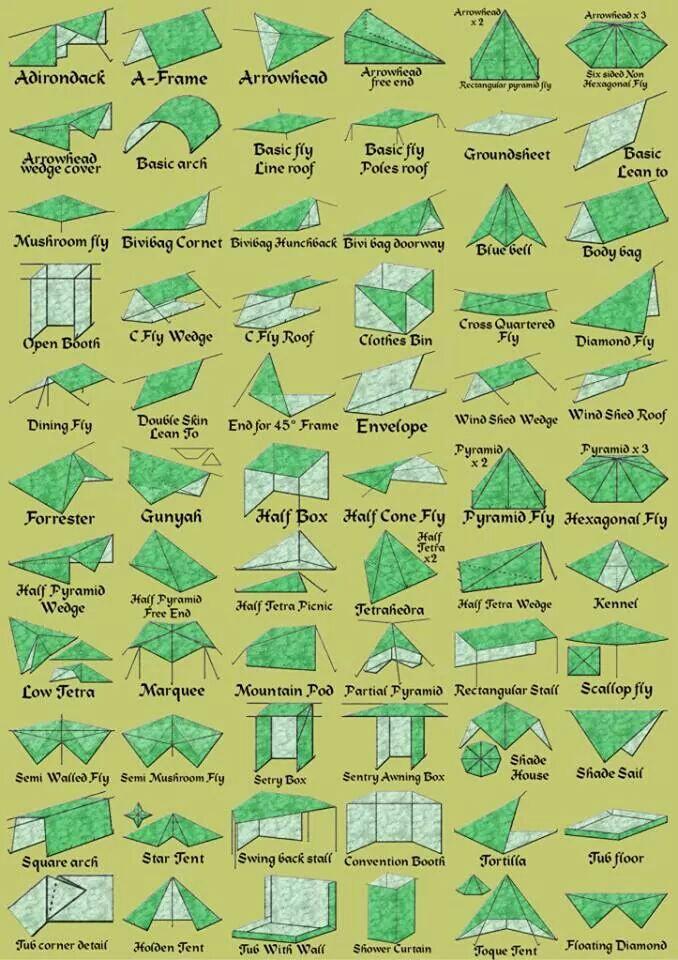
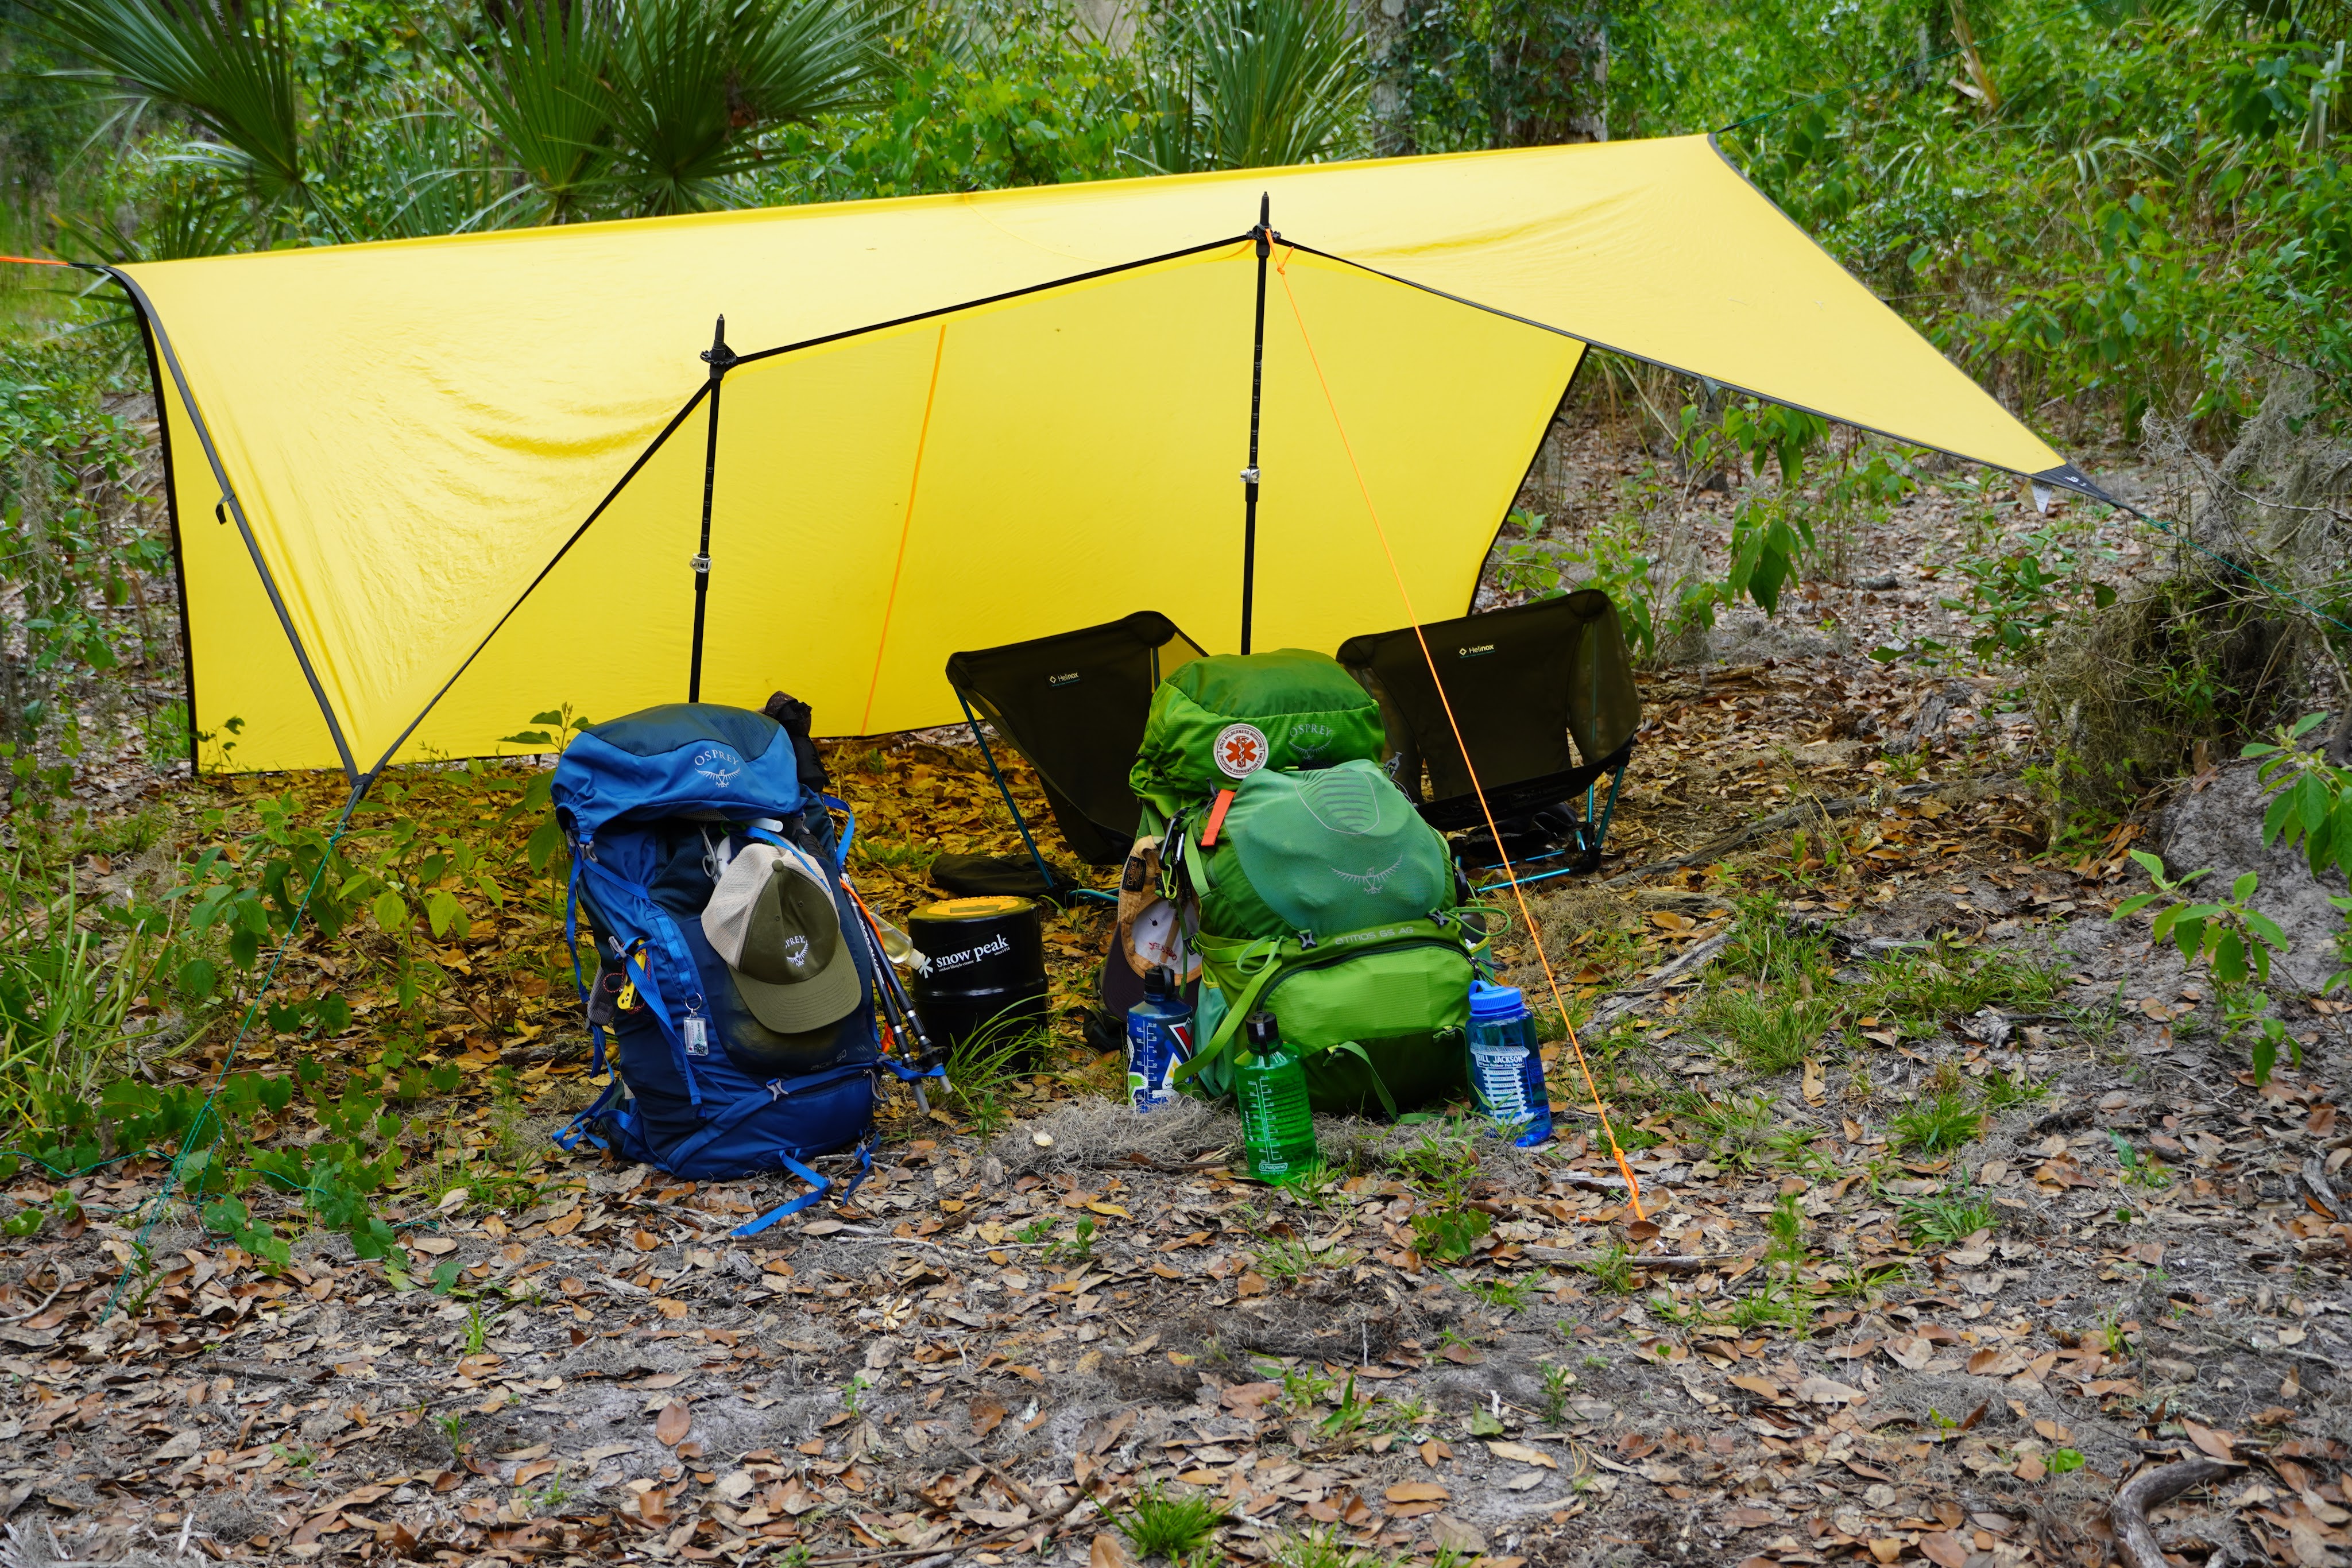
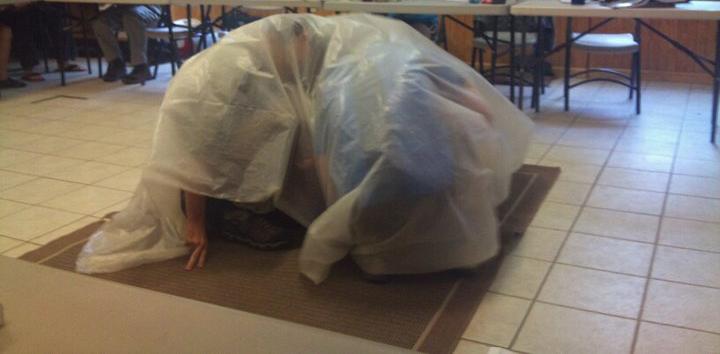
Shelter: Some tarps are made of ultra light weight breathable rip-stop nylon with 19 guy-out points and compact down to the size of a soda-can. Where as, some tarps are non breathable less compact plastic with metal grommets for rope to tie into, both work, I have even used mylar emergency blanket and Visqueen (often misspelled visquine) plastic sheet. Visqueen is a brand of polyethylene plastic sheeting commonly used as a floor and furniture covering when a person paints the interior of their home, as a shelter. The tarp allows for a variety of setup styles. The A-frame sleeping shelter is a quick solution for rain protection. The Lean-to configuration is a simple wind block for sleeping next to or as a kitchen location. And the bivy looks like a wrapped burrito.

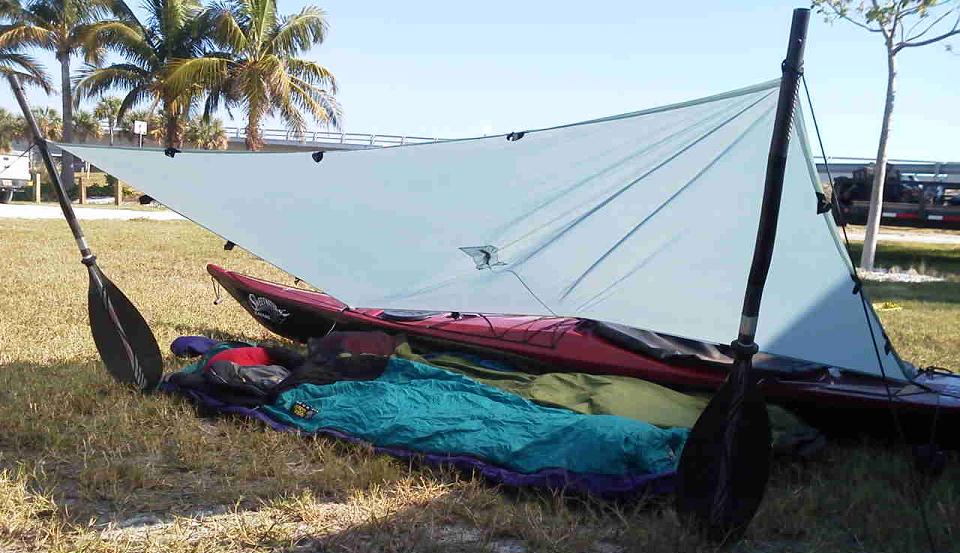
No poles, not a problem: I use kayak paddles as poles for my tarp.
Tying down with or without stakes: Sometimes the combination of soft sand and strong wind makes staking down a tarp an unpleasant experience. When this happens, I use my kayak as the tarp’s anchoring point when I encounter soft sand and strong win.
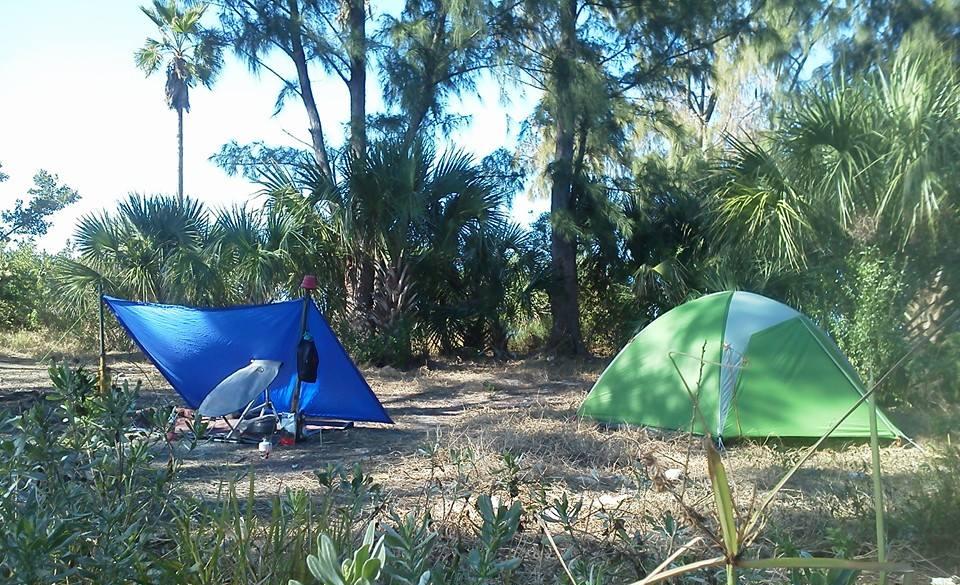
Keeping a tent dry: A simple trick to setting up a tent in the rain is to first setup a tarp head high. Then under the tarp you have the comfort of assembling the tent, and then moving it into the rain to where you want it. This technique works best if you are setting up a freestanding tent.

The below closeup shows two bowline knots tied to one corner of the tarp. The red reflective cord is tied at a 90′ angle to a tree with a taught line hitch. The white cord wraps once around the throat of the paddle and is tied at a 90′ angle to a stake with a taught line hitch.
 Bowline Knot: Make a small overhand loop in the standing part of a rope. Bring the rope end up through the loop, around behind the standing part, and back down into the loop. Tighten by pulling the standing part away from the loop.
Taut Line Hitch: Pass the working end around the anchor object. Bring it back alongside of the standing part and make a half-hitch around the standing part. Continue with another wrap inside the loop, effectively making a round turn around the standing part. Complete with a half-hitch outside the loop, made in the same direction as the first two wraps, as for a clove hitch. Dress by snugging the hitch firmly around the standing part. Work any slack out of the knot, then slide the hitch to adjust the tension on the line and adjust as necessary.

Ideal Mylar shelter: Use two mylar blankets. Make a modified lean to with one mylar sheet. I find having one corner raised with three corners staked down works well. Then take a small portion of the second mylar sheet and make a two foot reflector semi circle wall. Between the lean to and the semi circle place a small fire. Use the rest of the second sheet on the ground in the lean to or wrap it around you.
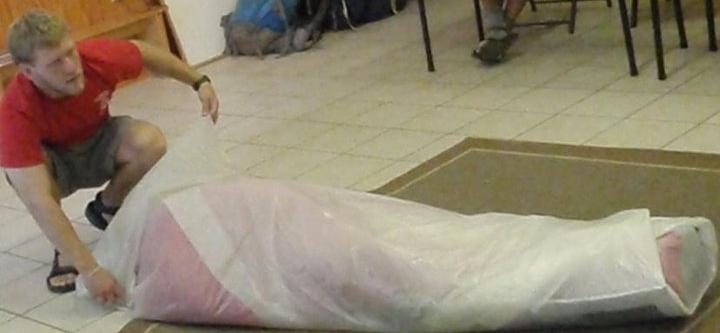
Shelter without tying downs: In an emergency a tarp could make the difference between surviving and dieing. make an emergency bivy sack to protect a person from exposure or hypothermia to keep in body heat. A first responder possibly would use this to transport an injured person out of the wilderness on a stretcher to give added protection to rain or falling snow. The key to making this easy shelter is placement. Lay the tarp 90′ to the wind, and have the opening of your sleeping bag downwind. Fold the tarp over the bag at an angle and giving yourself at least 6 inches of clearance to move around under the tarp.
Other uses for the tarp:
- catching rainwater with a tarp: funnel rain water into a container. Make a rain trap also known as a water pit. Dig a large circular pit, line it with a tarp (weighted by large stones). Rainwater is clean and safe to drink, but it will go stagnant in just a few days. Make a solar still.
- Floatatin. You could build a raft with a tarp.
- Tow a car out of the mud.
- Wrap a cargo bag on the roof of your car.
- Make a rain poncho.
- Craft a hammock
- Make a horse-shoe pack (improvise back pack) to hall food or gear