
It’s October, and this is a good time to go shopping for Wilderness First Aid training supplies. Costume stores fill their shelves with theatrical blood, bruise makeup, and wound effects that can earn their keep long after the jack o’lanterns have gone soft.
For new outdoor leaders and first aid instructors, here is a practical guide to what to buy, which injury to simulate, where to place it, and what students should practice. Each injury needs a believable mechanism of injury, or MOI: the event that caused the damage.
Walk past the skeletons, turn away from the dancing corpse, and head for the makeup aisle. We are teaching first aid. Nobody needs to audition for a zombie movie.
For paddling instructors, Scout leaders, and outdoor educators, these materials can help recreate a problem on a muddy shoreline, beside a trail, or at a campsite where help will take time to arrive.
Start with the lesson
Moulage is the use of makeup and props to simulate injuries. Before buying anything, decide what students need to learn: assessing a patient, controlling bleeding, protecting a wound, supporting an injured limb, or organizing an evacuation.
A scrape should match a slide across rough ground. A cut should match the object that caused it. An embedded branch needs an explanation that fits the wound and the patient’s position. Realism comes from those connections.
I reviewed Spirit Halloween’s Clearwater store page and online product listings; I have not field tested these products or confirmed local stock. Costume supplies offer useful options, but their quality varies. The soft embedded object and protective mount must be obtained or made separately.
What belongs in the shopping basket
Start with bruise makeup and one blood effect. Add wound building materials when your lesson requires them.
Bruised Injury Kit
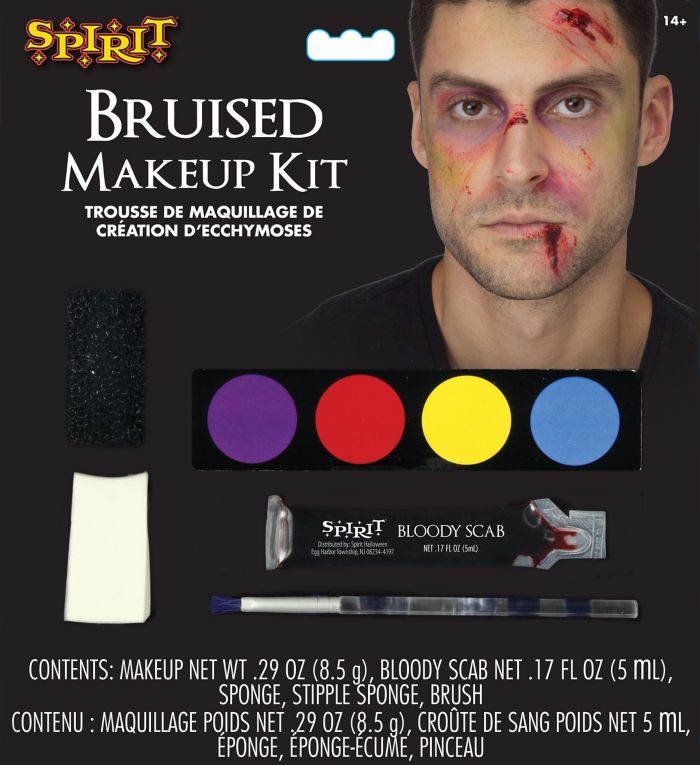
- Simulated injury: A contusion accompanying a possible muscle or bone injury.
- Placement: Outer upper arm, thigh, or shin.
- MOI: A paddler slips at a landing and strikes a rock.
- Skill: Assess the limb, protect and support it according to findings, and reassess after care.
- Assessment: Pain, tenderness, function, and circulation beyond the injury. Bruise makeup alone cannot establish a fracture.
Apply color sparingly. A fresh injury does not need a dramatic purple patch to be believable.
Bleeding Gash Appliance
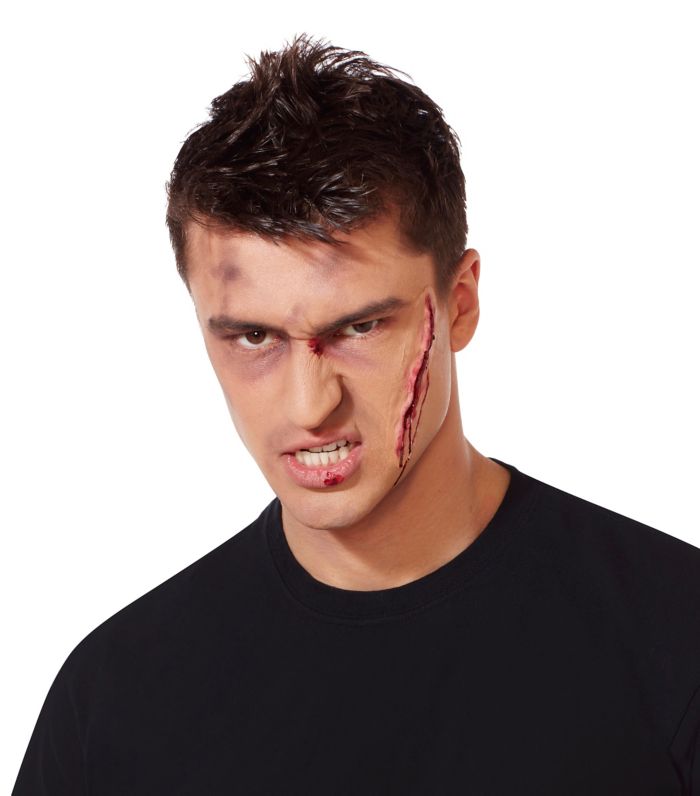
View the Bleeding Gash Appliance
- Simulated injury: A laceration.
- Placement: Outer forearm or lower leg.
- MOI: Contact with sharp rock or damaged equipment.
- Skill: Control bleeding and protect the wound according to training.
- Assessment: Bleeding severity, contamination history, wound location, and effect on function.
Inspect the appliance before buying it. A large, ragged wound needs a mechanism capable of causing that damage. This appliance is a wound effect, not a complete embedded object trainer.
Blood Gel and Bloody Scab
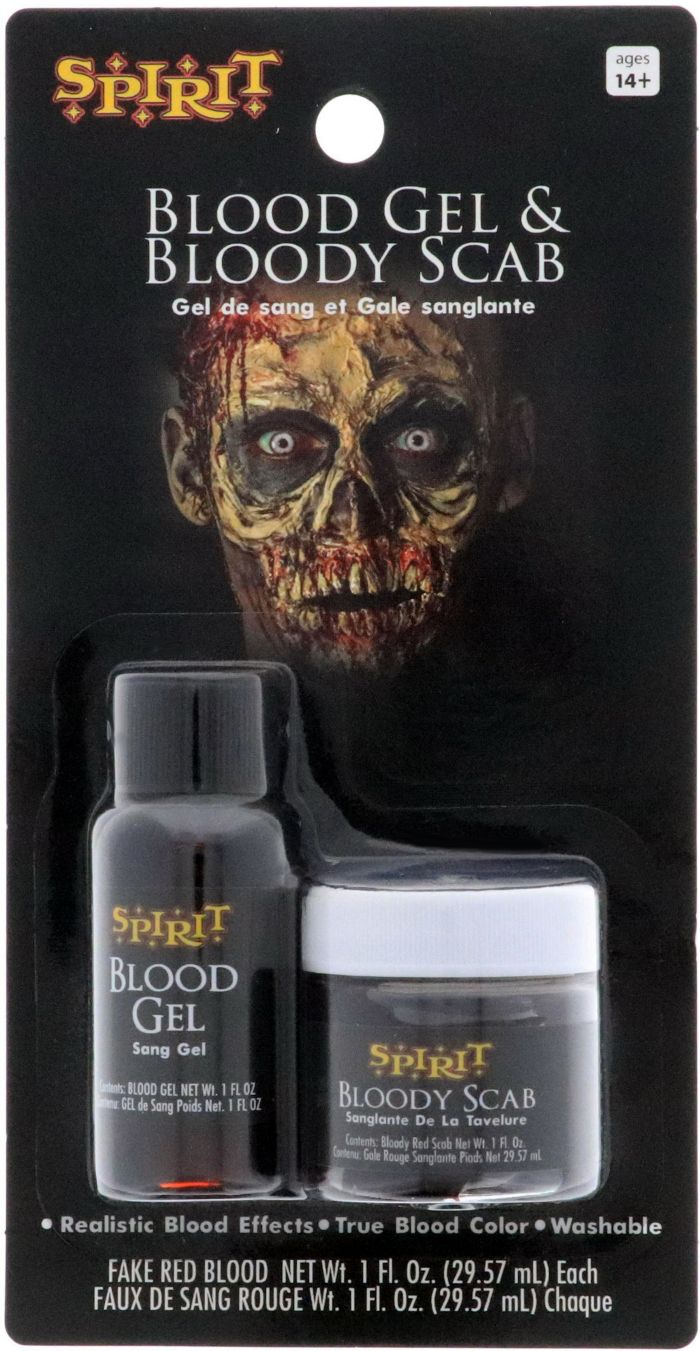
View Blood Gel and Bloody Scab
- Simulated injury: A surface abrasion or blood around another simulated wound.
- Placement: Knee, elbow, or forearm.
- MOI: Sliding across rough rock or ground.
- Skill: Cleaning and protective dressing when appropriate to the wound and course curriculum.
- Assessment: Extent of surface damage and any additional injuries from the fall.
Use a thin, uneven application for a scrape. Save the scab effect for a wound whose history supports it. Stationary gel cannot demonstrate continuing blood loss; that information must come from the scenario.
Latex and Blood Kit
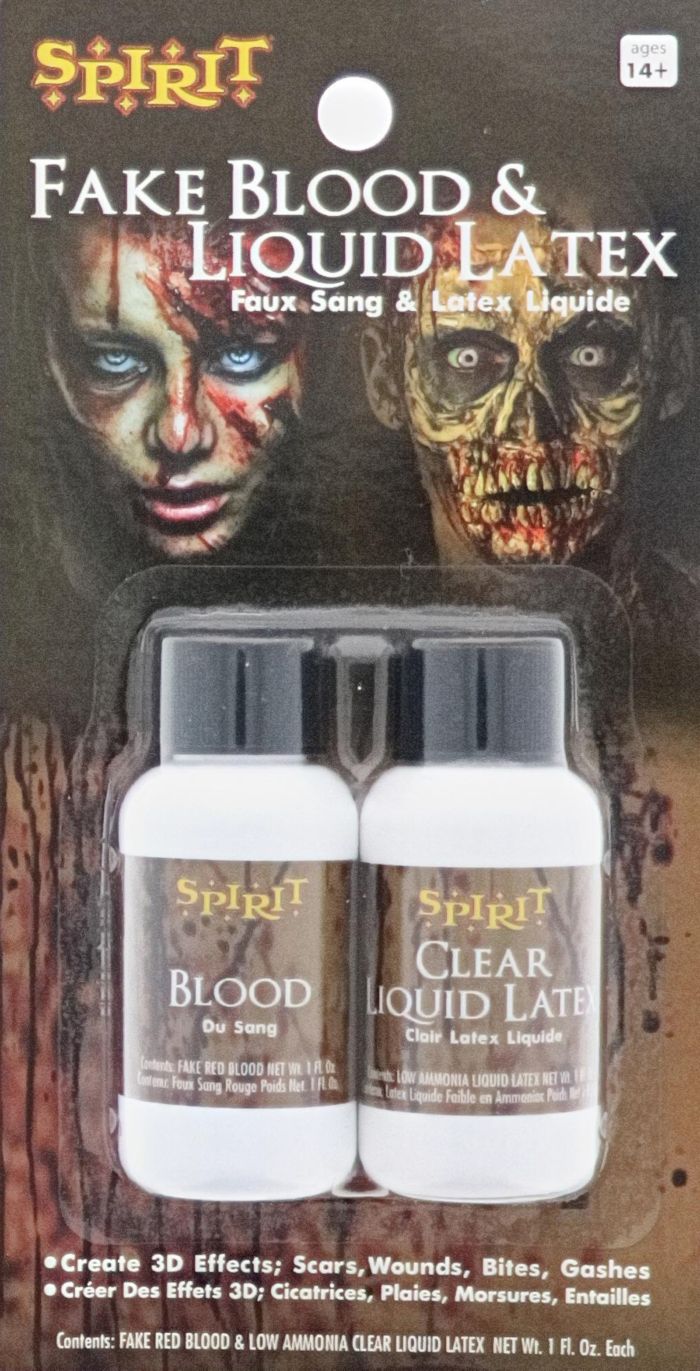
- Simulated injury: Torn wound edges around a separately mounted soft object.
- Placement: Forearm practice sleeve or lower leg task trainer.
- MOI: Falling against a projecting branch or damaged dock timber.
- Skill: Control bleeding around the object and stabilize it with surrounding dressings.
- Assessment: Object movement, bleeding, circulation beyond the injury, and evacuation needs.
Build modest wound edges on a removable practice surface. The kit does not supply the object, protective backing, or dressings.
Build the station before class
The costume store supplies the appearance. Assemble the working parts separately:
- A short, soft foam branch or other flexible replica.
- A practice sleeve or task trainer with a protective backing and a secure prop mount.
- Gauze dressings and bulky pads.
- Roller bandages, triangular bandages, and tape.
- Nitrile gloves for practicing protective procedures.
- A patient script, instructor key, and patient assessment record.
Mount the replica so it cannot penetrate the actor when a student presses down. Keep real glass, nails, blades, and pointed sticks out of the station. Rehearse the exercise before students arrive and check that the equipment tolerates dressing and handling.
The embedded object lesson
This station addresses an embedded object in a limb. It does not provide adequate instruction for penetrating injuries involving the eye, chest, neck, or abdomen. Those require separate teaching and region specific management.
For the limb exercise, students leave the object in place. It may be restricting bleeding, and removal can make bleeding worse. They apply pressure around the wound and secure bulky dressings without pushing on the object.
Saying the object “may be plugging the wound” is reasonable. Saying it definitely plugs a blood vessel claims something students cannot know.
Three believable scenarios
- Short foam branch, outer forearm: A hiker slips against a broken branch beside the trail. Practice placing a ring pad around the object without moving it. Assess bleeding control and stabilization.
- Broad foam wood fragment, lower leg: A paddler slips against damaged dock timber while landing. Practice building bulky padding on either side. Assess whether students adapt the support to the object’s shape.
- Angled foam stake, outer thigh: A camper trips against a projecting campsite stake. Practice supporting the object in its existing position. Assess how students plan to protect it during evacuation.
These are proposed training scenarios, not reports of actual incidents. For a first exercise, I would choose the short branch on a forearm sleeve. It gives students room to work and makes unwanted movement easy to observe.
Where the doughnut dressing fits
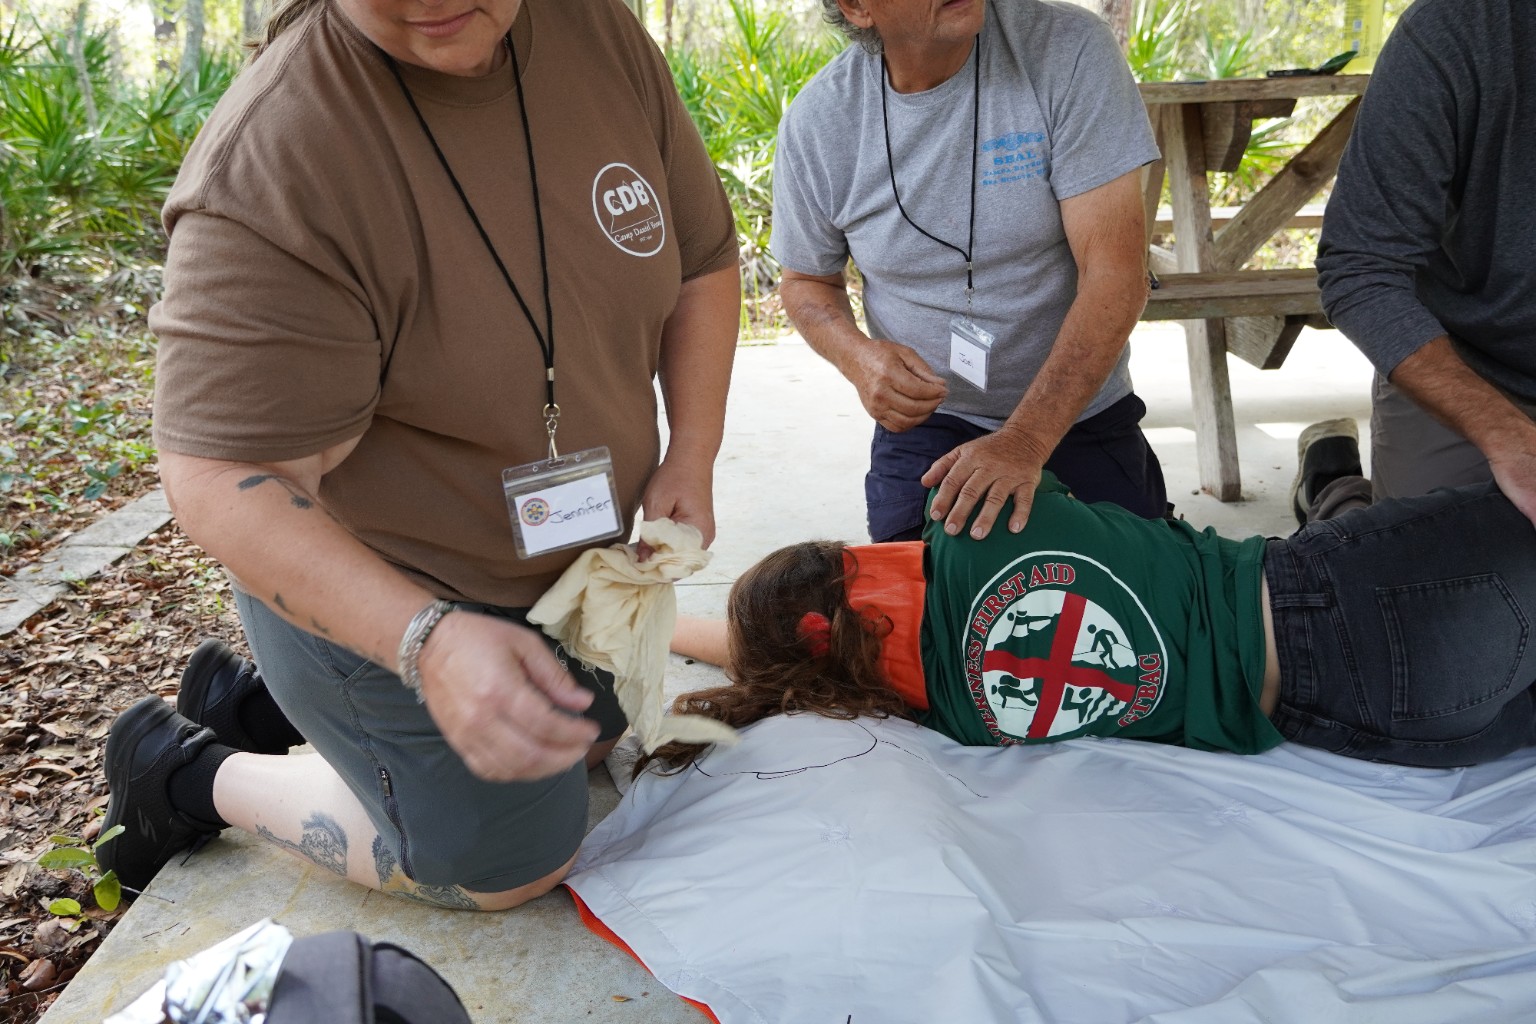
A doughnut dressing, also called a ring pad, is a thick cushion with an opening in the middle. The opening provides clearance for the projecting object while the surrounding padding supports and protects the area.
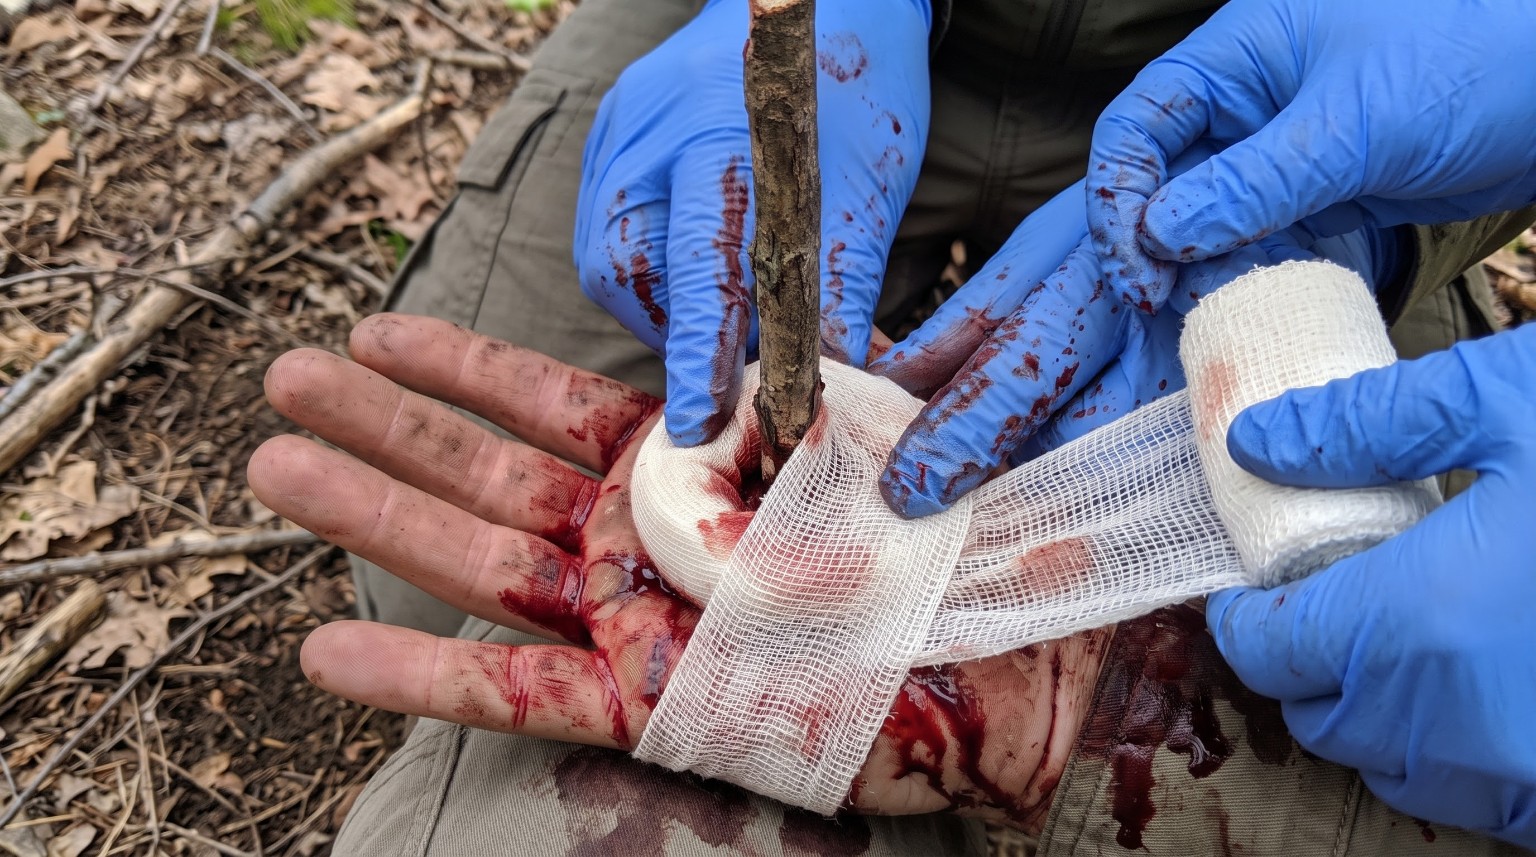
For practice, use a soft replica secured to a protective backing. The photograph illustrates dressing placement; it does not verify the prop mount’s safety or demonstrate completed stabilization or bleeding control.
Practice making a ring pad away from the simulated patient, following your course instructor’s demonstration. The goal is a thick, soft cushion with an opening that clears the object without gripping it. This article and photograph introduce the application; they are not a complete construction tutorial.
For placement, support the object in its existing position and bring the prepared padding into place without twisting, levering, or pushing it. Do not force a ring over an awkwardly shaped object. Bulky pads on either side may fit better. Secure the padding so bandages do not press down on the projecting object.
Most importantly, a neat dressing does not prove that bleeding is controlled. A ring pad is a stabilization aid. It does not replace effective pressure around the bleeding wound. Place clean dressings against the wound and build support around the object. Do not push padding into the wound or wrap a bandage around the object itself.
Assess the patient, then reassess the work
- Check scene safety, obtain consent, and use appropriate protective equipment.
- Assess the patient and identify significant bleeding.
- Leave the embedded object in place.
- Apply pressure around the wound without pressing on the object.
- Secure supporting dressings without changing its position.
- Check circulation and sensation beyond the injury before and after bandaging, without delaying urgent bleeding control.
- Reassess bleeding, the patient’s condition, and the security of the dressing.
- Arrange prompt medical evaluation and plan evacuation.
Uncontrolled severe bleeding changes the priority. Activate emergency help early and use emergency bleeding control measures within your training. For severe limb bleeding requiring a tourniquet, place it above the embedded object according to your training and the device instructions. Do not spend precious time perfecting a ring pad while the patient continues to bleed.
In a remote setting, identify the patient’s location, establish communication, and arrange an appropriate evacuation route and transport. Severe bleeding, signs of shock, deteriorating condition, or a hand or foot becoming cold, pale, or numb demand urgent action. Reassess any new circulation or sensation changes after bandaging; supporting bandages must not restrict circulation. This differs from a correctly applied emergency tourniquet, which must not be loosened by a first aider. Continue reassessment and protect the patient from environmental exposure while help is organized.
The exercise should continue beyond the bandage. Can the group move the patient safely? How will the object be protected during transport? What changes if weather or darkness delays help? These decisions belong in a paddling course just as surely as the dressing does.
Keep the scenario honest
Makeup cannot supply a pulse, tenderness, sensation, or a change in mental status. Set those findings in the patient script and instructor key before class. Keep the history, chronology, findings, treatment response, and outcome consistent. Students should document what they actually observe or are told.
Keep WFA expectations within the course curriculum. Additional WFR interpretation belongs in a clearly identified instructor discussion or debrief.
Follow cosmetic labels, check for allergies, and keep products away from eyes and actual wounds. Ammonia free latex still contains latex. Keep moulage supplies separate from the equipment intended for real patient care.
October offers an unusual opportunity to stock the training box. Choose a few useful materials, build a believable injury, and give students a problem worth solving. The best result is a student who notices the danger, keeps a steady hand, protects the patient, and knows when it is time to call for help.
Continue the training
Read Wilderness First Aid for Kayakers: Be Ready, Not Lucky for the broader role of preparation and patient assessment on paddling trips.
For scenario discussion, explore A SOAP Narrative for Wilderness First Aid: Closed Wounds and Multiple Trauma, Distraction Injury, and Chest Wall Emergency. Use these as discussion material alongside your current course curriculum.
Over at FloridaOATS, Jeff’s Favorite First Aid Essentials offers a companion look at the supplies behind that preparation.
Treatment references
American Red Cross: Bleeding and embedded objects. Covers leaving the object in place, pressure around it, bulky dressings, emergency bleeding control, and medical care.
ANZCOR Guideline 9.1.1: First Aid for Management of Bleeding. Explains padding around or beside an embedded object and escalation when bleeding remains uncontrolled.

